
|
|
#1
|
||||
|
||||
|
I priced out a sheet of Nida-Core. 1/2" 4x8 sheet was $261, which was about the price of a pre-made Ebox for my center console. The reason I bought this boat was because it had a T-Top. I want both a hard top and an E-Box to provide shade and a bit more space.
The problem was I didn't like the shape of any of the Ebox's for sale commercially. It turns out the 4x8 sheet is about the right amount of material for an E-Box and a hardtop. Thought it would be good to build the E-Box first. Nida-Core seems like a good application for this. Rather than build a form and go for a glamorous look, I decided to built it from flat pieces tabbed together and try and keep both projects light. The one problem I had was the Nida-Core, is it came with a layer of gel-coat. Not what I wanted so I had to grind all that off. Here is my rough plan: 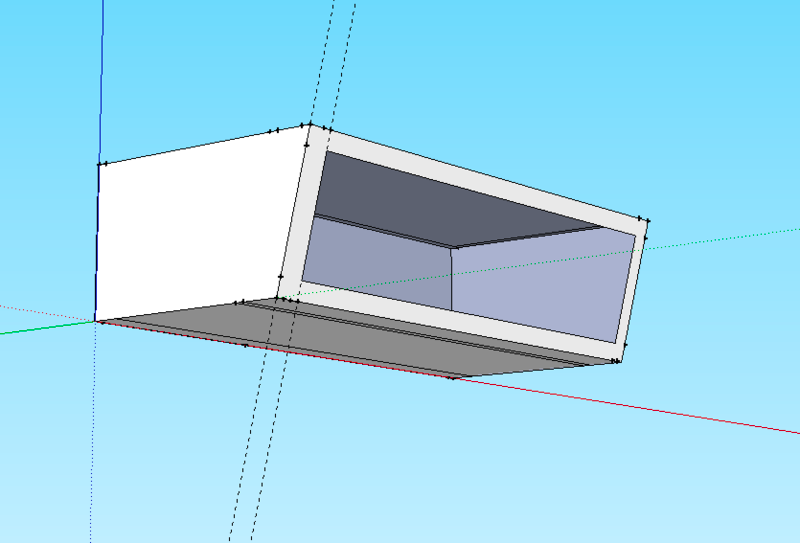 Progress so far. I've tabbed in the inside, and test fit it. I found it was a bit tight at the top, so I shaved off some material. I've since tabbed in most of the exterior--and just have the shaved area, which will need two more sessions--for tomorrow. Here it is looking in the front. I plan to angle the front face downward slightly. I left both sides square so it would stand up while I worked.  The top edge was a bit tight, so I shaved off both sides. This was my first test fitting. I actually shaved off quite a bit more at the top on both sides to allow room for a couple of layers of fiberglass cloth.  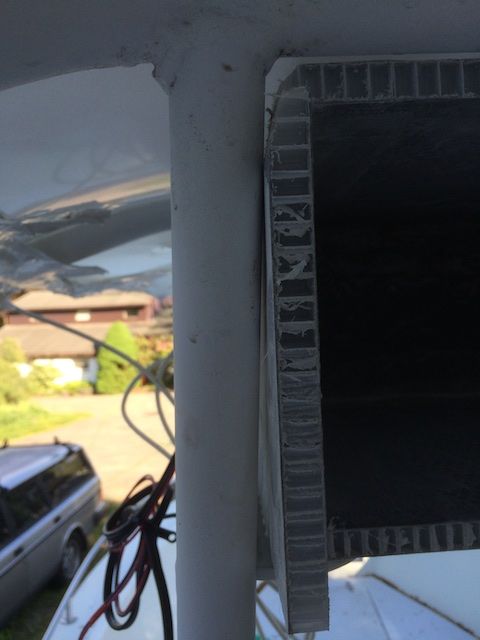 Here it is from the front: 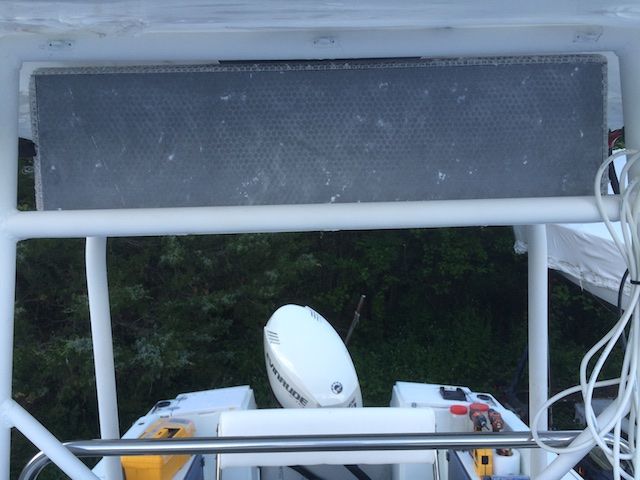 After I finish the sides, I'll cut two holes in the bottom for speakers. Next, I'll start building a picture frame type faceplate. I also want to build a flush mount for a VHF radio, Stereo, and small chart-plotter/fish-finder. I need to figure out a way to hinge that so I can access it for service. I also want a Plexiglass cover plate that I can lock closed when not in use and lock up when underway. I've been doing lots to my center console. New seat cushions, all new wiring, switches, lights and fuse panels, mounted a 6 Amp charger and a Live well pump to glued in plywood panels on the hull to save space. I'm in the middle of installing trim tabs. The only thing I kept--the courtesy lights. I like they way they look and it came with plenty of spare bulbs. 
|
|
#2
 05-23-2015, 10:29 PM
|
||||
|
||||
|
Cleaned up some edges trimmed. The far edge is 2" higher but it doesn't look it here.
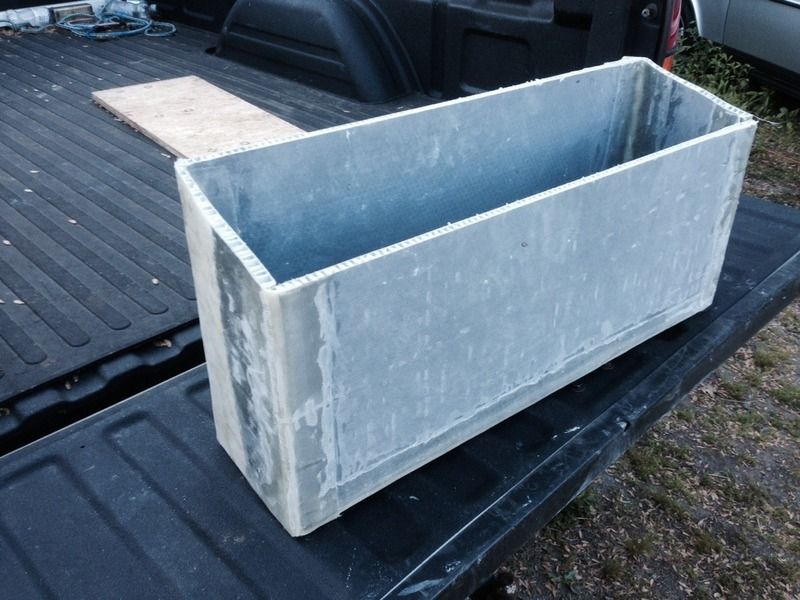 The front picture frame panel was made out of three pieces because I was running out of material. Here is it. The three pieces were tabbed together and then I glued it to the main box. Tomorrow I'll be able to clean up the edges and tab the outside front. once dry I will be able to cut the opening and add some tape to the inside. After that I need to mount the interior panel for flush mounting the electronics and fair up the outside some.
__________________
Night Sailor 
|
|
#3
05-24-2015, 07:22 AM
|
||||
|
||||
|
My hardtop is hex-cell core. Good stuff.
I'm curious , why grind off the gelcoat?
__________________
1984 V20 "Express" & 2003 Suzuki DF140 (SOLD!) 2000 GradyWhite 265 Express YouTube/SkunkBoat https://www.youtube.com/channel/UC4F...znGospVOD6EJuw Transom Rebuild https://www.youtube.com/watch?v=EEz94NbKCh0 https://www.youtube.com/watch?v=Oe_ZmPOUCNc
|
|
#4
05-24-2015, 08:37 AM
|
||||
|
||||
|
Quote:
How thick is thecore in your Hardtop?
__________________
Night Sailor
|
|
#5
05-24-2015, 01:13 PM
|
||||
|
||||
|
Thanks for posting what you are doing with the NidaCore.
Interesting material, I've not been looking at stuff in a couple of years. Another interesting thing is their pourable transom compound. Looks good so far!
__________________
 '75 Cuddy with '00 Johnson Ocean Pro 150 horse Benny
|
|
#6
05-24-2015, 04:46 PM
|
||||
|
||||
|
Quote:
__________________
1984 V20 "Express" & 2003 Suzuki DF140 (SOLD!) 2000 GradyWhite 265 Express YouTube/SkunkBoat https://www.youtube.com/channel/UC4F...znGospVOD6EJuw Transom Rebuild https://www.youtube.com/watch?v=EEz94NbKCh0 https://www.youtube.com/watch?v=Oe_ZmPOUCNc
|
|
#7
05-24-2015, 04:49 PM
|
||||
|
||||
|
Quote:
 NidaCore /Arjay is now CarbonCore. I have a Transom thread in Repair forum. I'll be posting an update soon.
__________________
1984 V20 "Express" & 2003 Suzuki DF140 (SOLD!) 2000 GradyWhite 265 Express YouTube/SkunkBoat https://www.youtube.com/channel/UC4F...znGospVOD6EJuw Transom Rebuild https://www.youtube.com/watch?v=EEz94NbKCh0 https://www.youtube.com/watch?v=Oe_ZmPOUCNc
|
|
#8
05-27-2015, 10:42 PM
|
||||
|
||||
|
I plan on using a lot more of this stuff.
I want to make a splash board. If I put two strips of stainless steel, I could drop a simple panel in the gap, and it would add practically no weight to the boat. I will also need to make a new engine cover for my sailboat. I know a few gals that do canvas work. I was debating getting a canvas enclosure. Then I thought about a CC I saw in Noank that had a three sided enclosure and realized that would be cheaper to make one myself, out of Nida Core, than hiring a canvas, and I could make it removable. A possible future project. One thing I won't do is buy this stuff with gelcoat. It is a PITA to remove. BTW, my hardtop is coming along nicely. I have 7' of 1.5" fiberglass tube. I'm going to try to incorporate this into fore and aft handholds on the hardtop.
__________________
Night Sailor
|
|
#9
06-01-2015, 03:21 PM
|
||||
|
||||
|
I've been busy building my hardtop out in the barn the last few rainy days. The weather is slowing me down.
I have finished most of the E-Box. I still need to work on the front face a bit, install a mount for the electronics, and then prime and paint it. Here are a few shots of the E-Box after test fitting it. It fits my T-Top frame perfectly. It looks like it belongs there. When painted it will look like it has always been there. I still have to decide how to finish the front. The plan is plexiglass. However, I have plenty of teak so I may make a teak frame for it. I'm leaning against that. In fact I want to remove all the teak on the boat and replace it with starboard. Once I finish this boat I want the maintenance to be very low. On the other hand the front face won't see much sun, so varnish and bright work may last a long time. 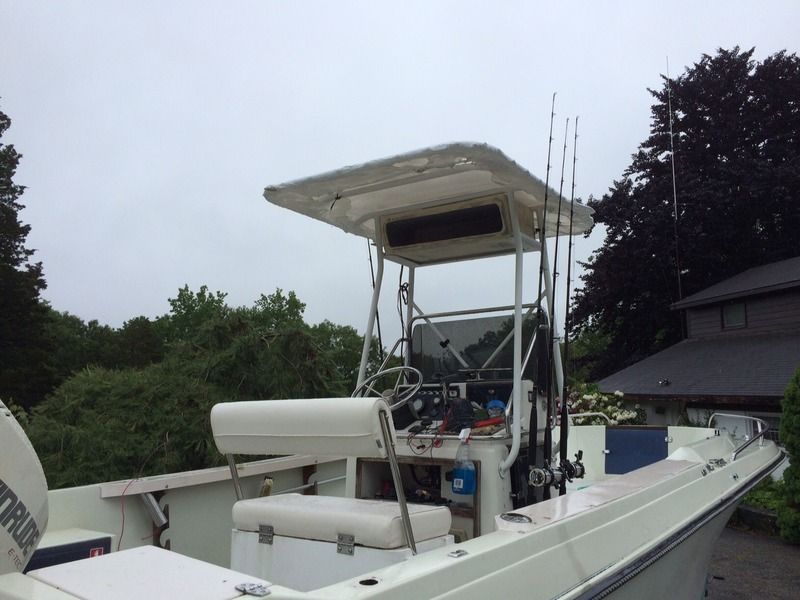 I've started sanding off all the old paint on the bottom. I found three layers in places and, a crappy epoxy repair with no glass. You always want to use a little glass. So I will grind that out and redo it. The trailer is in the way for much of this work, and so I will looking for some poppet stands to do the rest. It is going slower than expected. Because of the strakes, I will have to hand sand much of it. It would have been easy to just slap another coat of ablative paint on it, but an ultra smooth hard finish will give me an extra knot or two. My goal is 44 knots, (50 mph) on flat water. I really hate the look of the aluminum plate on the back of the boat. My transom is solid, I may redo that next year for a cleaner look. I have the trim tab hydraulic pump and controls installed. The installers left the two drain scuppers full of sealant. It was a PITA to get that out. Now that the bottom paint is removed, once the rain stops and I can prime and finish installing the Trim Tabs. 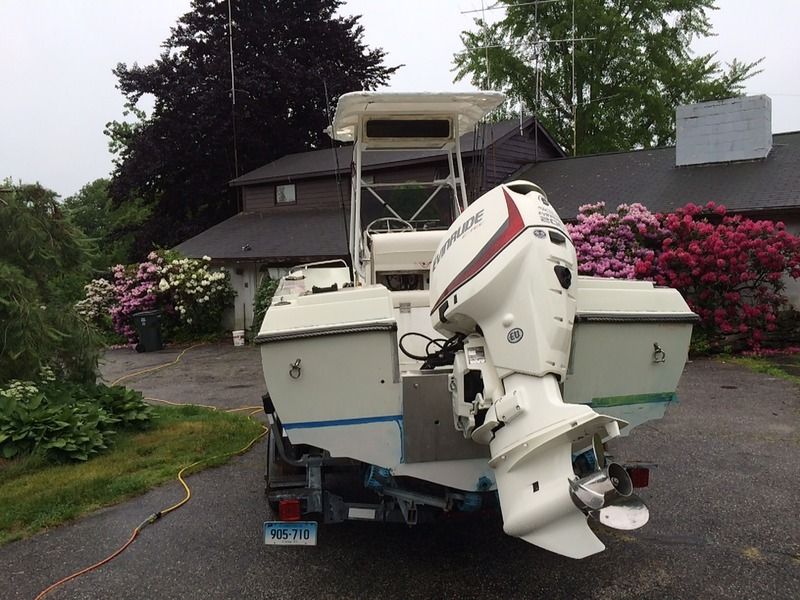 My shrink wrap T-Top cover idea would probably have worked very well--it is on there very tight. It did help keep the sun off of me while I rewired the boat--but it will be cut off in the next few days when I test fit the hardtop. The four corners of which need to be trimmed. I found 7 feet of 1.5" fiberglass tubing. I plan to cut that and use it for grab bars fore and aft on the hardtop. The after one will be perfect for people standing behind the helm. I didn't quite have enough material for the entire hardtop and wanted to extend it out with a bit of overhang. So I used 2.75" strips of 1.2" birch around the outside to stiffen things up a bit on the edges. I am thinking about adding two stainless steel rails on each side so I can strap things down on top--like a kayak, or to use as a grab bar on each side of the boat for people moving forward. The birch will provide some compressive strength to the hardtop, and the fore and aft ones, will help bond the fore and aft grab bars. I used a router to round the edges of the wood, and then two boards, a plastic garbage bag split open and many clamps to get a nice finish on the edges. The will need only a little work to make them perfect. The left side shows a mark made by a clamp. The boards were a little thinner than the Nida-Core, so I built that up with a layer of mat and two layers of cloth. Then I wrapped two layers of cloth completely around the wood with about 6-8" of overlap on each side. 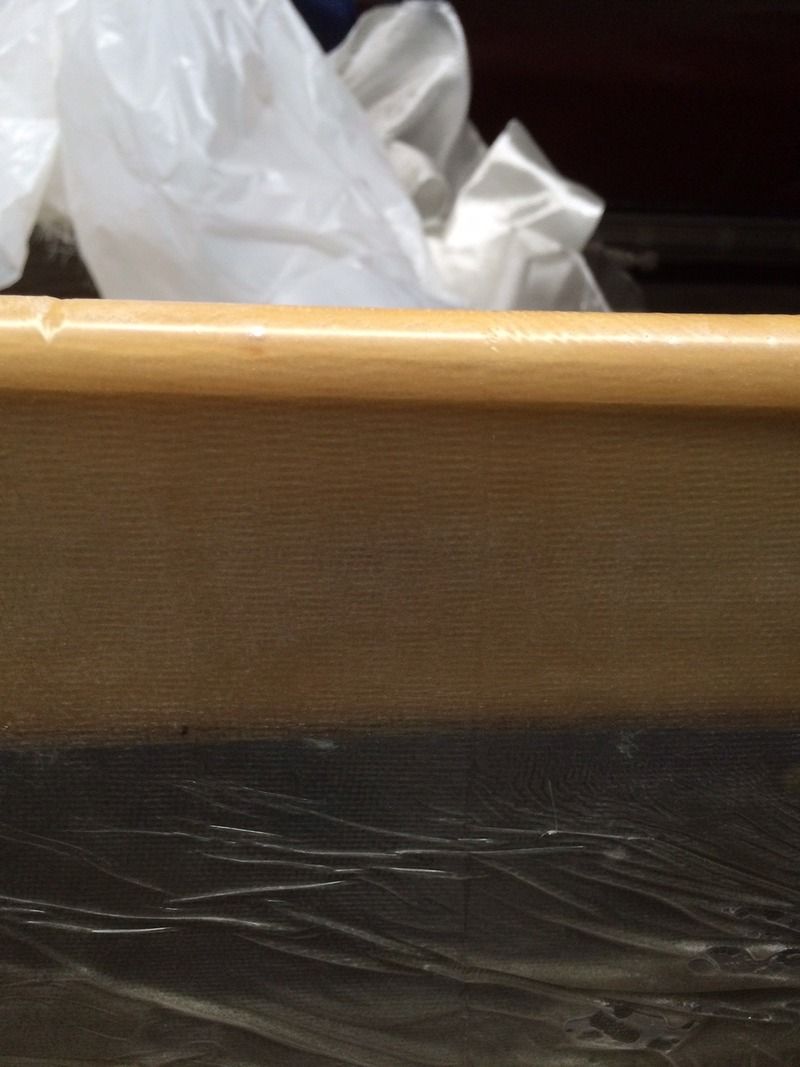 One of the aluminum tabs on the T-Top frame is missing. So I'll need to weld on a new one. I'll need all four tabs to bolt down the hardtop and in particular, to secure the two grab bars. I'll have some final shaping of the corners and bonding the mounts and grab bars to do after the last of the birch is tabbed on. Then I'll be fairing it smooth and ready for paint.
__________________
Night Sailor
|
 |
|
|


 Linear Mode

