
|
|
#1
|
||||
|
||||
|
How should I go about restoring the areas around the hinges/handles of the hatches? They were screwed in and over time have begun to show spider cracks...any suggestions?

|
|
#3
 07-07-2010, 04:11 PM
|
||||
|
||||
|
-I appreciate it! This is a great source of information and help! Hatch replacement is always the easiest way out, but when the boat is 20+ years old, there are a lot of other things that need to be addressed. The cracking on the hinges was one of those things that fell into the category of do-it-yourself to save money for other more pricey modifications/repairs/replacements.
-Could I remove the hinges and latches and then apply small patches of fiberglass sheet, epoxy resin it, sand it down and paint it? Or would the it be worth my time to go through all that rather than just buying a new one where it is needed?
|
|
#4
07-07-2010, 05:10 PM
|
|||
|
|||
|
Use an angle grinder with an abrasive sanding disk and grind back all of the damage area completely, Wipe clean with Acetone then use a Marine grade filler with fillers or thickeners if needed blend into a manageable consistency for horizontal or vertical surfaces, consider an above or below the water line product as the case may be, most of this Marine Grade filler is found in the local Marine stores.
However if you are going to use Gel Coat over this patch you must use a polyester base filler or resin not Epoxy (Gel Coat will not adhere to it). For paint I don't thing it matters ? Check http:\\www.youtube.com there are some excellent videos on patching and flaring or working with glass in general. Simply fill it let dry and sand to perfection and you are done, blame the itching on the summer heat :) Not very hard, I never done stuff like this and was able to restore my V. Here are some serious filling, sanding and Gel Coating before and after done in my driveway during my restoration and transom repair. Good luck and keep us posted.    
|
|
#5
07-08-2010, 01:16 PM
|
||||
|
||||
|
here ya go old post about them
http://www.wellcraftv20.com/communit...ead.php?t=4130 Crack Repair's 101 Tools of the Trade or may need for some to most repairs. Grinder, Air Ginder, Air D/A Sander, Air Line Sander, Air Palm Sander, Air Die Cutter, Air Gun, Leather Hammer, Safety Glass's, Safety Mask, Gloves, fiberglass roller, fiberglass, Resin and hardner, and Not pictured cheap paint brush and sharp sissors. 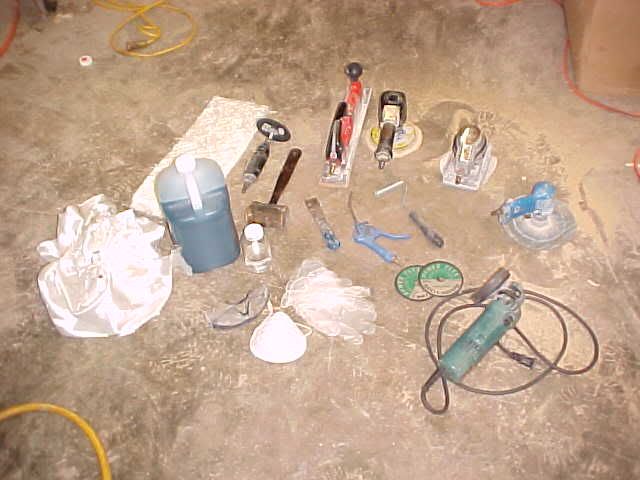 here's the crack i had before repairs ( didn't really need to go this extreme for this small crack but only crack i could find to fix ) LOL 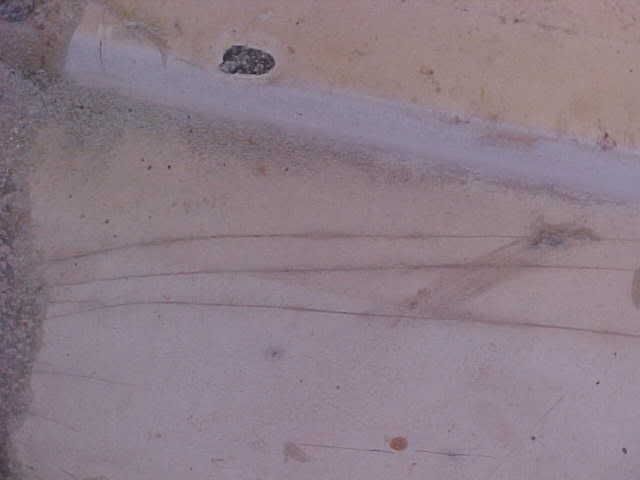 Take the grinder or die cutter and cut in just the cracks into the glass as seen below. 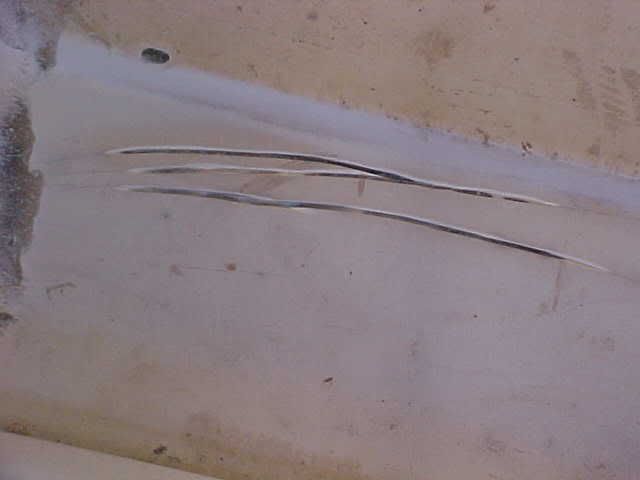 Take the grinder now and grinder the glass down in the center of the crack or cracks like a V shape or valley so you can layer the glass for better and stronger bonding. till you have the crack cut line hard to see. 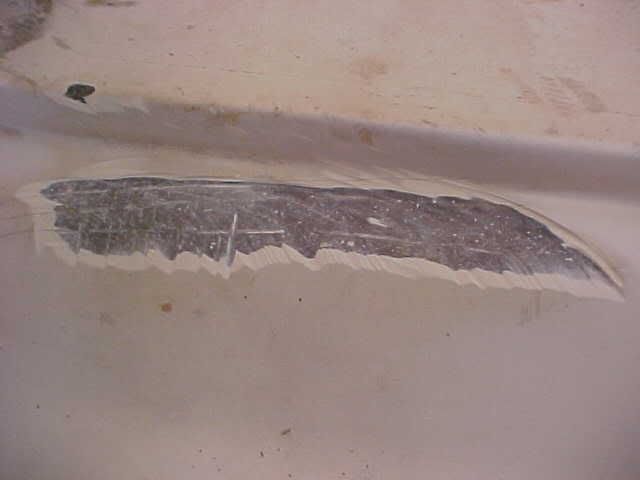 now blow out the area clean then take the sissors and cut the glass to fit in the area you have ground out. 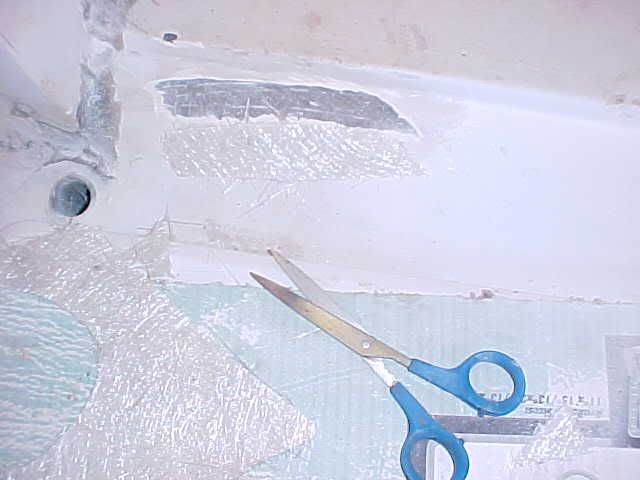 Now cut a second piece of glass that is smaller and just covers the crack.  now mix your resin and hardner up and either brush or in this case just take your finger with the gloves on and rub resin in the area to be repaired. then soak the smaller piece of glass and then lay it in the center and either roll it out or just use your fingers to get it smooth with no air bubbles. 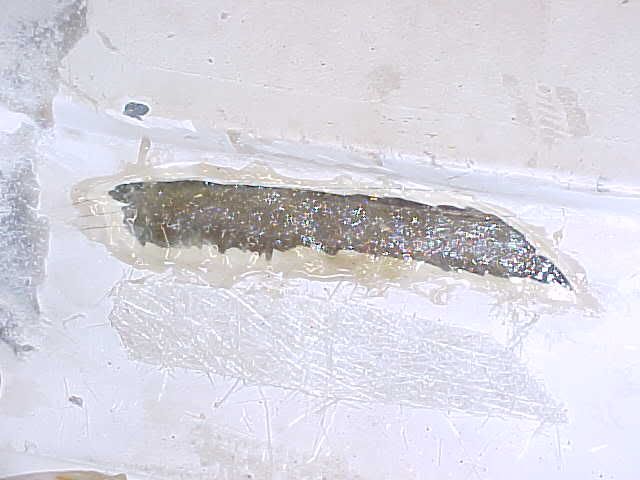 now soak the larger piece of glass and lay it on top of the smaller one to cover the entire area you ground out and roll it or use your fingers to smooth it out too. [img] http://i8.photobucket.com/albums/a46/Skools_Out/Monoco%2021/Monaco21_025S.jpg[/img] then pour some of the left over resin on the repair and let it soak in all and wait for it to cure.  This is my patch i did today and is now curing. 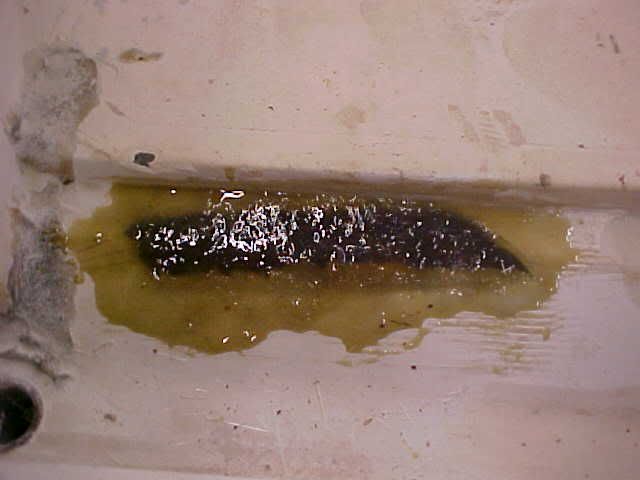 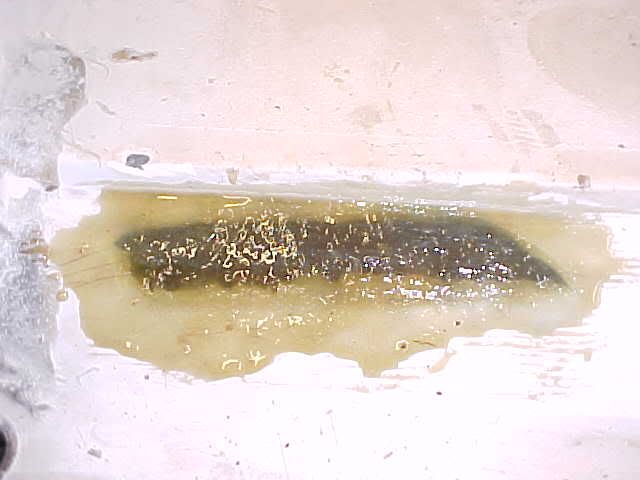 Any other questions ask away hope this helps guys. good luck. ;D Any clean up can be done easily with Lacquer Thinner. Will post the sanding and finishing once this job dries probably tomorrow.
__________________
 1978 V20 Cuddy w/ 225 Johnson. And Several other boat's
|
|
#6
07-08-2010, 01:33 PM
|
||||
|
||||
|
Good job Todd.....I feel like I could almost do that!
__________________
 1994 Wellcraft V21
|
 |
|
|


 Linear Mode

