
|
|
|
|
#1
|
|||
|
|||
|
Folks,
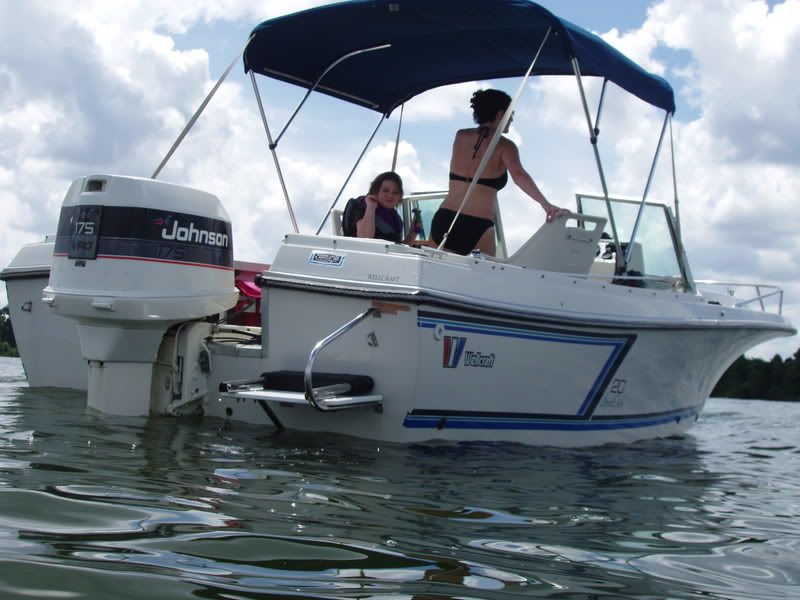
Some of you may remember I posted a while back about my need for a transom and my intent to use the Arjay 6011 or Nidacore pourable compounds. Well, the time has arrived. I began the operation this weekend. As background, I purchased what I consider a very pristine 88' dual console from the original owner knowing it had a little flex in the transom. I had the transom replaced in my previous V-20 (75' cuddy with twin 115's). After visiting the shop over and over and seeing the finished product, I convinced myself I could do no worse. The last thing I wanted to do with my current boat was cut the inner liner or worse, the top cap so I said lets try the ceramic. With the motor off, I drilled out the rivits on the aluminum transom cap, removed the swim platform and tow eyelets and had a look. The splash well and top cap wrapped around the transom, so I used my 41/2" grinder with a cutoff blade to remove these pieces so I could get to the wood. The wood on the upper part of the sides was mush. The hardest wood was actually where the motor mounted and I assume because it was compressed at that location helped it last longer. For those of you who laughed or were scared of the chainsaw method, let me put you at ease. VERY easy. You'd have to try really hard to cut through the inner liner much less the hull. You can very easily tell when the blade hits the glass. I purchased a $10 set of 2' wood bits from Harbor freight to aid in wood removal. Again, easy to tell when you hit glass. I've spent about 5 hours so far removing wood and I'd say I have 90% out. My 18" chainsaw is to short to reach the limits of the sides so I'll be borrowing a 22' this week to finish the removal this weekend. I plan on sanding the inside till its clean, applying a coat of polyester resin and pouring the Arjay 6011 that I ordered this morning while the resin is still green. It's messy, but my top cap and liner are still in one piece. Will it be as strong as a traditional job? Maybe, maybe not. The few times I'll take it offshore I think I'll be OK. It will be stronger than what I took out, that's for sure. (PICS TO COME) Maury
__________________
FLOUNDER 
|
|
#2
 02-25-2008, 04:30 PM
|
|||
|
|||
|
Sounds good and I'm interested to see the pics of hoe the procect was done. Don't keep us waiting.
|
|
#3
02-25-2008, 04:36 PM
|
||||
|
||||
|
Started the same thing the same way this week on my gigging boat but gonna pour the assend with glass and cloth like the V.
It's an old "74 Owlcraft. 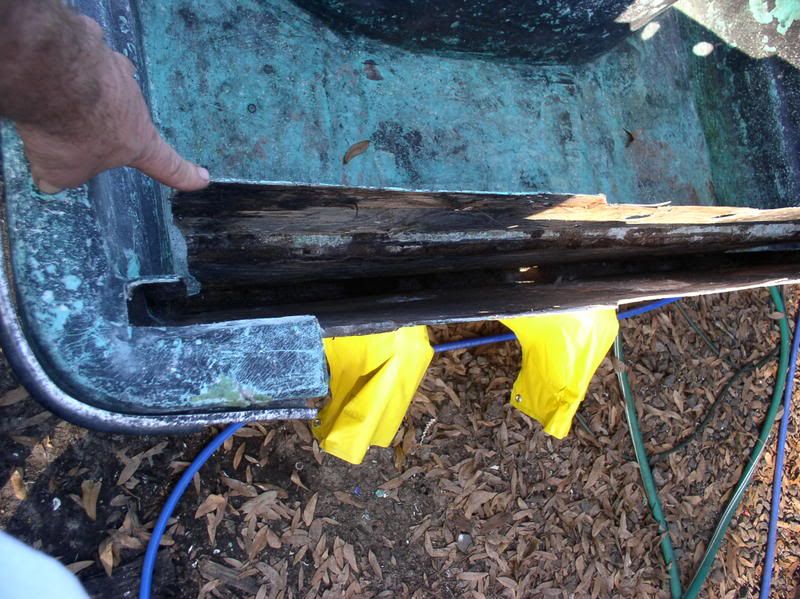 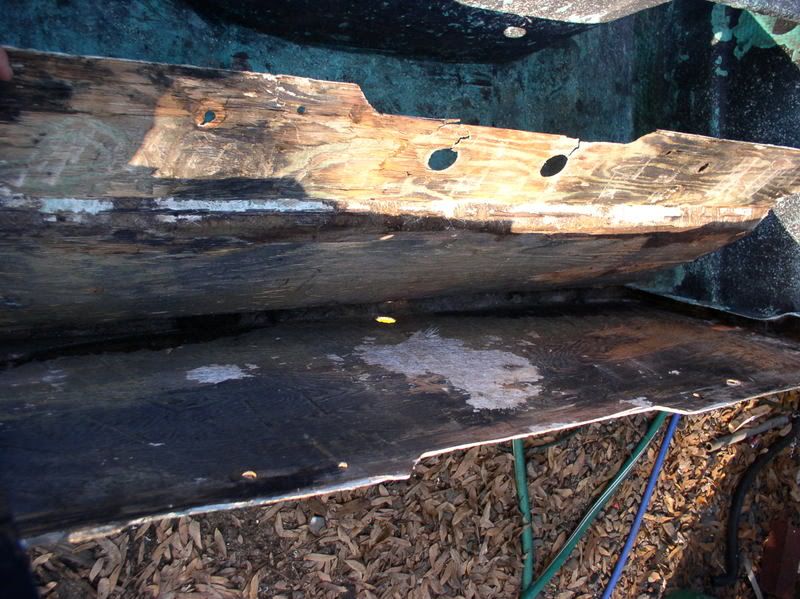 This made it much easier doing the V and this boat. 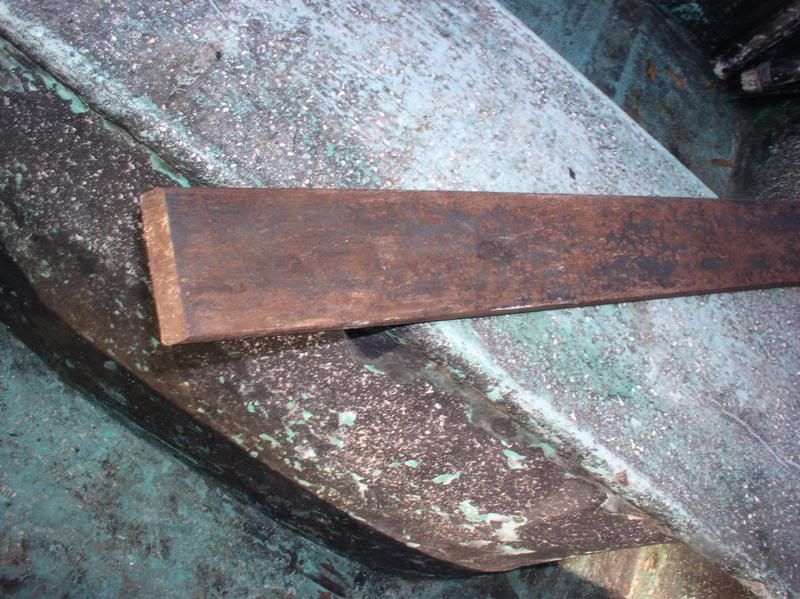 A 3"x24"x1/4" piece of flatbar cut on a 45* to finish the scrapeing. The weight alone does most of the work.
__________________
 '75 Cuddy with '00 Johnson Ocean Pro 150 horse Benny Last edited by tsubaki; 02-25-2008 at 04:51 PM.
|
|
#5
02-25-2008, 08:06 PM
|
||||
|
||||
|
murauy are you doing this to the dually???
__________________
1987 Dual Console / 2007 200 hp E-Tec 
|
|
#7
02-25-2008, 08:10 PM
|
||||
|
||||
|
The thread Still has some picture problems (my fault) but here is some of it.
http://www.wellcraftv20.com/communit...t=specs&page=6
__________________
'75 Cuddy with '00 Johnson Ocean Pro 150 horse Benny Last edited by tsubaki; 03-03-2008 at 06:23 PM.
|
|
#8
02-26-2008, 08:14 AM
|
|||
|
|||
|
"murauy". Lumber, what the heck is that????? I know Maury is unusual, but??? :)
Yep, the dually is undergoing surgery. Ordered the Arjay 6011 yesterday so it should be here by the weekend. Because of my schedule, I plan to pour the weekend of the 8th. I'll have the aluminum transom cap made the following week (about $100), then I should be good to go. I've got my fingers crossed, but so far so good. Maury
__________________
FLOUNDER
|
|
#9
02-26-2008, 08:13 PM
|
|||
|
|||
|
OK, for all you pic hoes...........
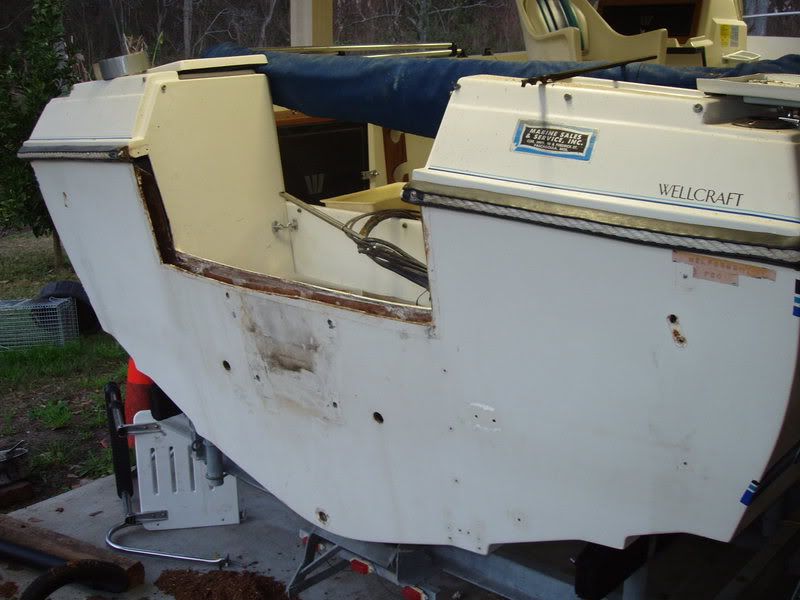 I had already done alot before I remembered to take pics. Here, the 175 is off and I removed tow eyelets, swim platform, aluminum cap and the bottom drain plug. 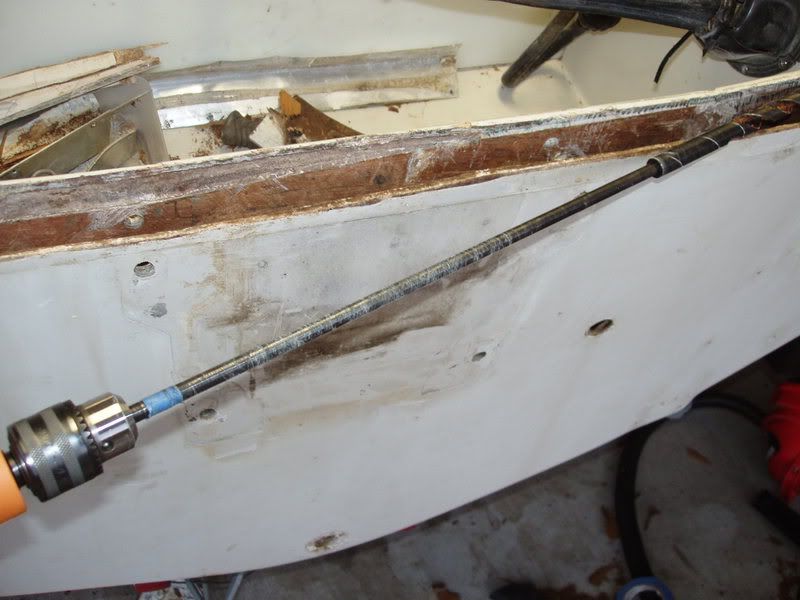 a 2' wood bit from Harbor Freight 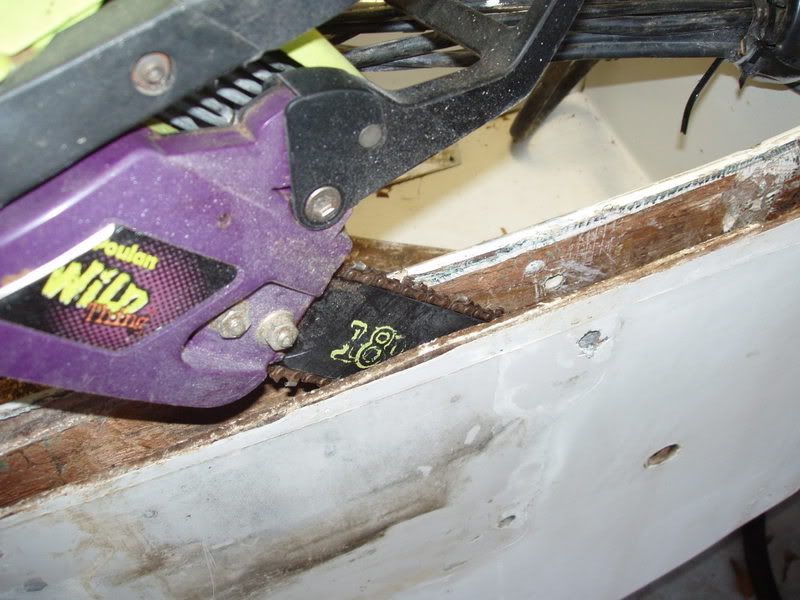 My Poulan chainsaw did the trick. Don't be afraid of this step. 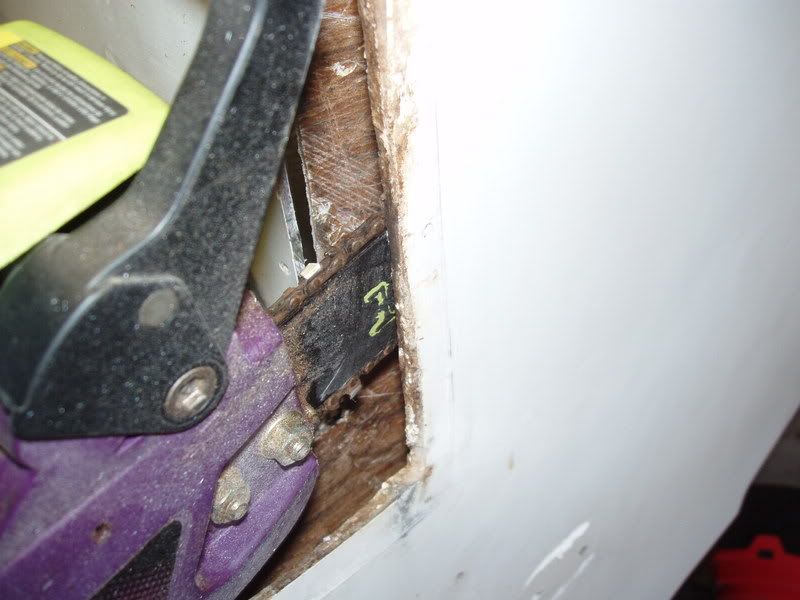 more chainsaw 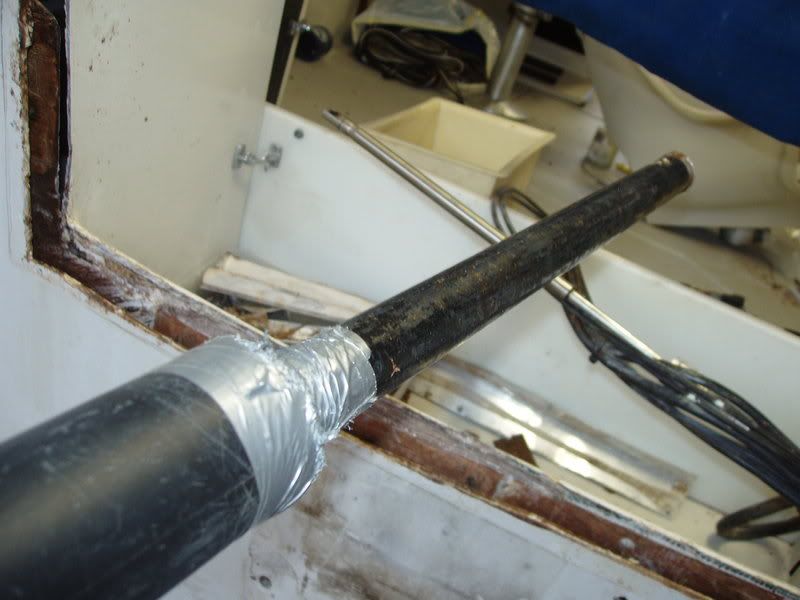 You need something small to suck out the debris. The iron pipe worked well and was heavy enough to aid in wood removal. 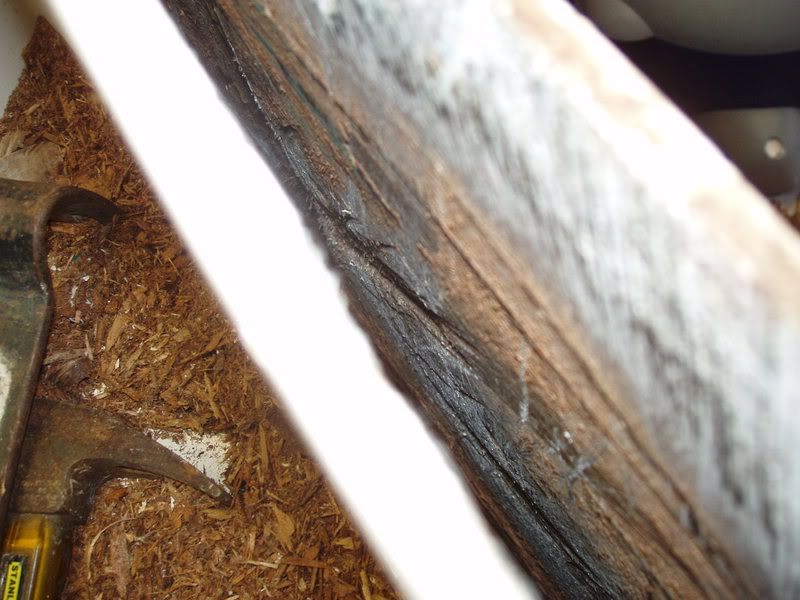 The end result 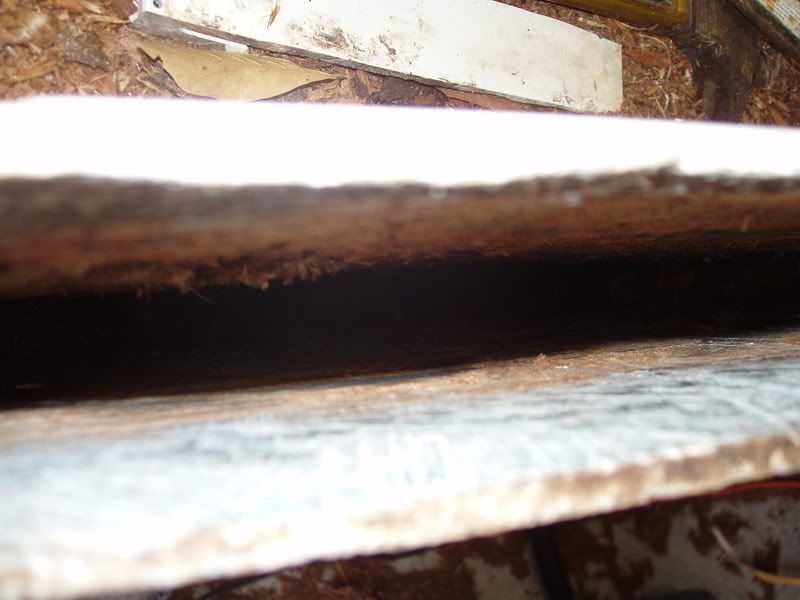 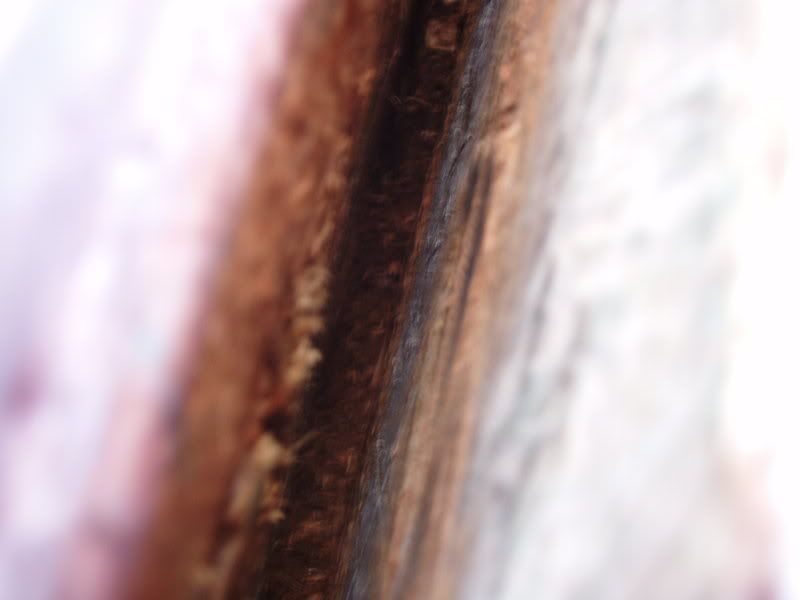 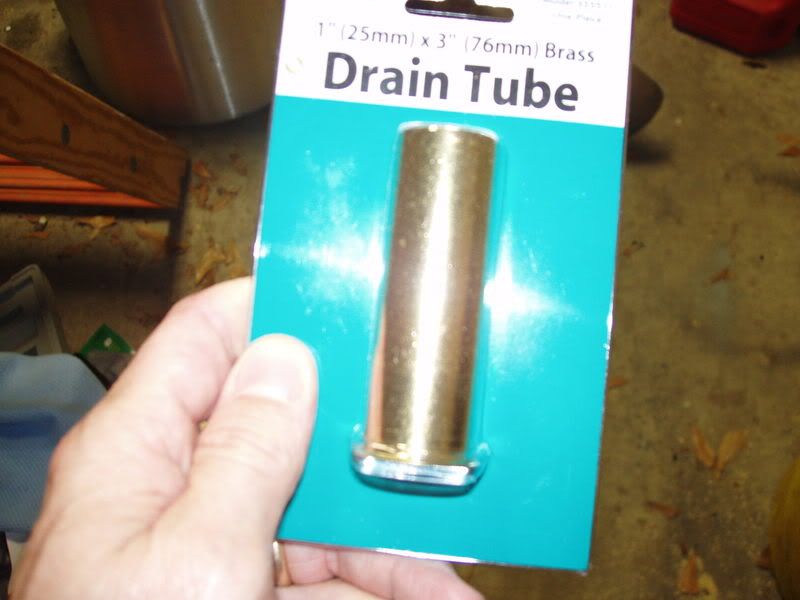 Picked up two new drain tubes at the local West Marine. Definately the cheapeast thing I've ever purchased there. I think if I can sand it clean I can get a pretty good bond. More to come.................next weekend.
__________________
FLOUNDER
|
 |
| Thread Tools | |
| Display Modes | |
|
|


 CY 1984 V20 STEP LIFT I/O 470 MERCRUISER Wheeling, WV


 Hybrid Mode
