
|
|
|
|
#1
|
||||
|
||||
|
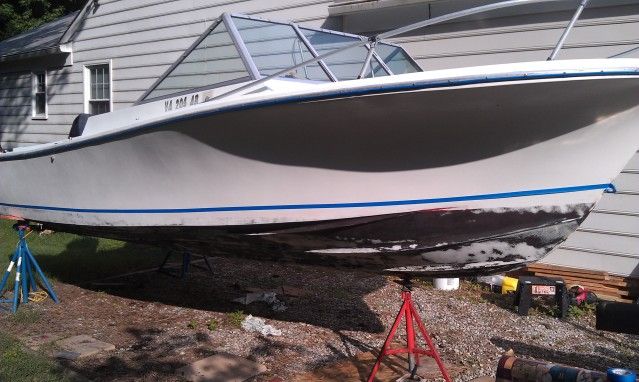
This is the last " before" pic of the boat before painting. I had determined that the anti fouling bottom paint was hard epoxy. Since it was hard epoxy I determined I could paint over it with epoxy primer with fairly good results. Had this been an ablative bottom paint, I don't think I would be able to just paint over it. I sanded all of the bottom paint off of the freeboard of the boat and heavily feathered the rest of the bottom using a DA sander and 120 grit sand paper. I then wet sanded the hull sides with 220 grit and began masking. Disregard the blue tape where the boot stripe would be. I was just trying to get a visual.
 I then sprayed the Devoe 201 2 part epoxy primer using a binks model 2001 1/2 gal pressure pot with a 63 PB ss fluid nozzle. This primer was very easy to spray and covered well. I would say all paint was reduced by approx. 10% 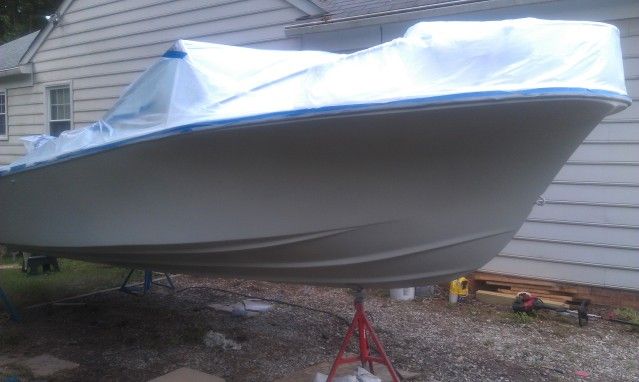 Sprayed a 6" to 8" band in the area that my boot stripe was to be located. Also used this time to fill ant small imperfections with spot putty. 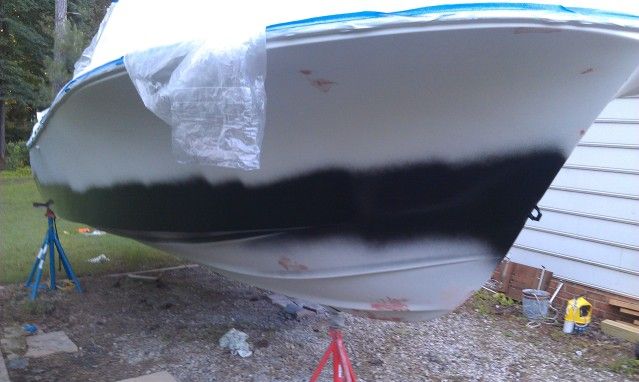 Using 3m 1" fine line tape and 1/4" vinyl pinstripe tape I masked off the stripes. This tape when revealed will be the finished boot stripe. 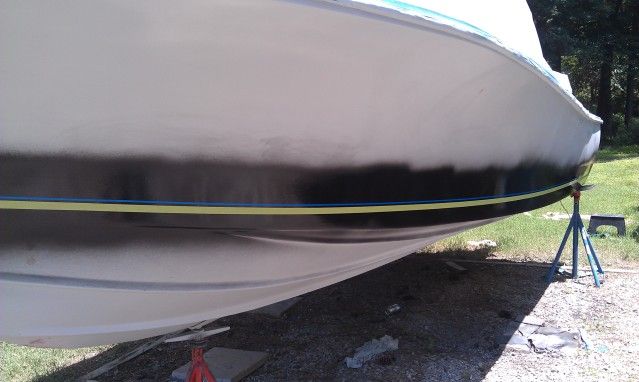 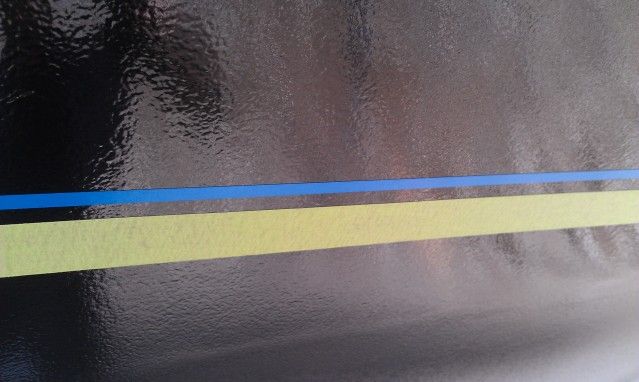 Next step: Spray over the masking tape stripes with the same black paint. This will insure that the edges are sealed and the finished lines will be crisp. After the black dried I sprayed another coat of 201 primer over pretty much the entire boat. This was to seal in the spot puttied areas and to prevent the black paint from showing through the yellow.  At this point a chose to paint the yellow hull sides. Only because I had some runs on the black coat over the tape, which ran down onto the white area. I would have had to wait a day to sand the runs out before I could paint the bottom white. Given the choice. I would be much easier to paint the white bottom first and mask off the bottom than to mask off the yellow sides. Oh well...whatever works. 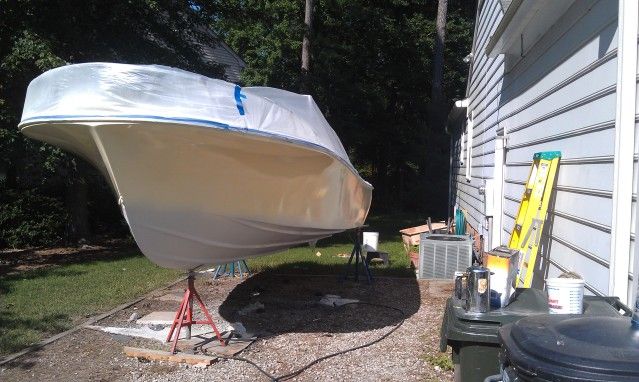 After the color was sprayed on the sides. I masked from the lower 1" stripe up to the rub rail and sprayed the bottom. After some dry time the masking tape was pulled from the black boot stripe area and the stripes where revealed. This was the moment of truth. What a thrill to see it all come together. After all the masking was removed from the stripes and hull sides, a final coat of 379 clear was applied.  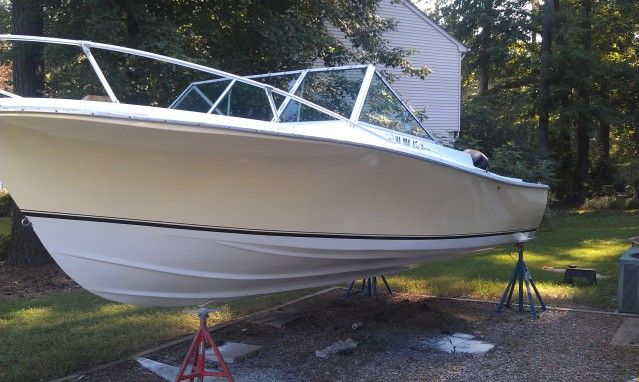 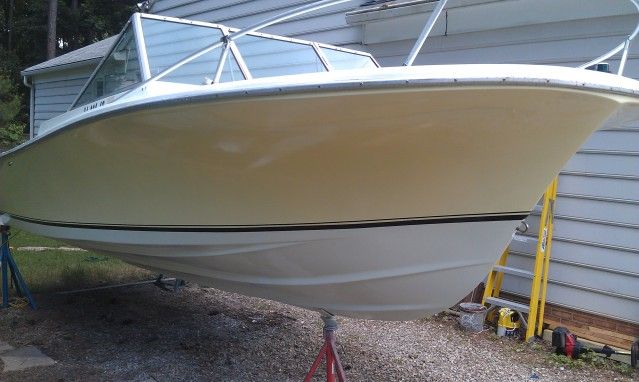 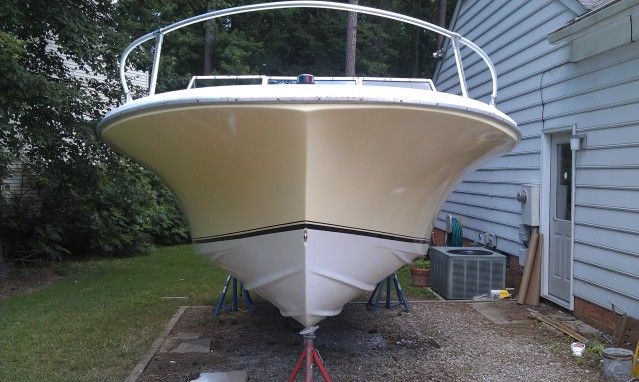 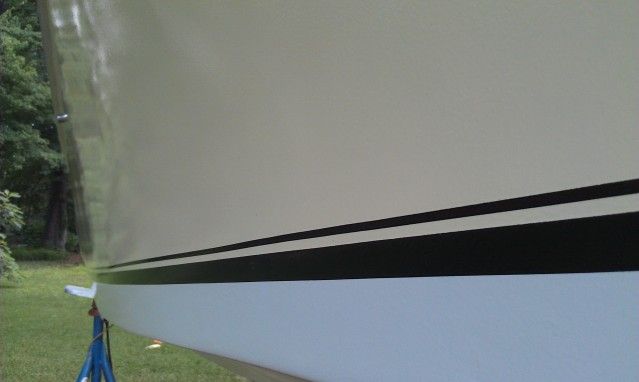
__________________
If your not living on the edge.....your taking up space. 
|
|
#2
 06-11-2012, 10:11 PM
|
||||
|
||||
|
WOW

__________________
1983 V-20 capsized. . . . in the garage.
|
|
#3
06-12-2012, 05:45 AM
|
||||
|
||||
|
Insane!!! Very cool. I'm almost there. I will be painting in about 2 months
|
|
#4
06-12-2012, 09:04 AM
|
|||
|
|||
|
That looks great!
__________________
84' Wellcraft Fisherman 18 / 96' Evinrude 130-Sold 20' Fisherman project underway www.ParkerFenceandDeck.com
|
|
#6
06-12-2012, 04:50 PM
|
||||
|
||||
|
I know this seems elementary, but how did you get the boat on the stands, and paint behind the stands. Do you just use a car jack? Are you able to easily move them between coats?
|
|
#7
06-12-2012, 04:57 PM
|
||||
|
||||
|
Quote:
Kracker Jack.....I have been following your build on THT. Looking sweet.
__________________
If your not living on the edge.....your taking up space. Last edited by shicks007; 06-12-2012 at 05:39 PM.
|
 |
| Thread Tools | |
| Display Modes | |
|
|


 Hybrid Mode
