
 |
|
#41
|
||||
|
||||
|
the reason for the liner is I want to be an insulated fishbox with a macerator pumpout. In the event that actually ever catch a keeper fish it will keep well in there. And when I'm done I can pump out any blood,scales,etc out of it with no problems. That tub is actually an outdoor fish pond that you put in the ground. It looks pretty durable. After its foamed in it should be bullet proof.
|
|
#42
|
|||
|
|||
|
"Blood and Scales" love it :) See I am 2 focus on Beer and Wine stored in this area :) lost sight of the fact this can and was meant to be a mean fishing machine ..I will agree with your approach seal the bulkheads off and foam it in..
|
|
#43
|
||||
|
||||
|
I'm being optimistic with the "blood and scales". More realistic though it will be used as a beer cooler. No new pics yet. The other day I tabbed the fore and aft bulkheads to the remaining floor. I also tabbed in 2" strips of plywood around the floor cutout so when I put the floor back down it has something to rest on. I had to order a special low profile 1 1/2" 90 degree drain for the fishbox. It came in yesterday. Maybe today I will work on the fishbox plumbing. Tomorrow and Friday are supposed to be warmer. If thats the case I'm not going to work on the boat. I want to get out on my quad.
|
|
#44
|
||||
|
||||
|
I was able to get the drain in the fishbox and run the hose up the starboard side of the boat. Its a really nice low profile 90 degree drain. With any luck I will be able to foam it in tomorrow morning. Then I'm going riding

|
|
#45
|
||||
|
||||
|
latest update..
I finally got a new gas tank. I went with a moeller 55gal plastic tank. The fitment is great. Its a little shorter than the original so I will probably add another bulkhead behind it to keep it in place. Now I'm a little more motivated to work on the boat. More progress should be made real soon. |
|
#46
|
|||
|
|||
|
Looks good Pete.What is the model number on your tank.Would be good to know in case I need to do the same on my V20 some time in the future.
Thanks Joe |
|
#47
|
||||
|
||||
|
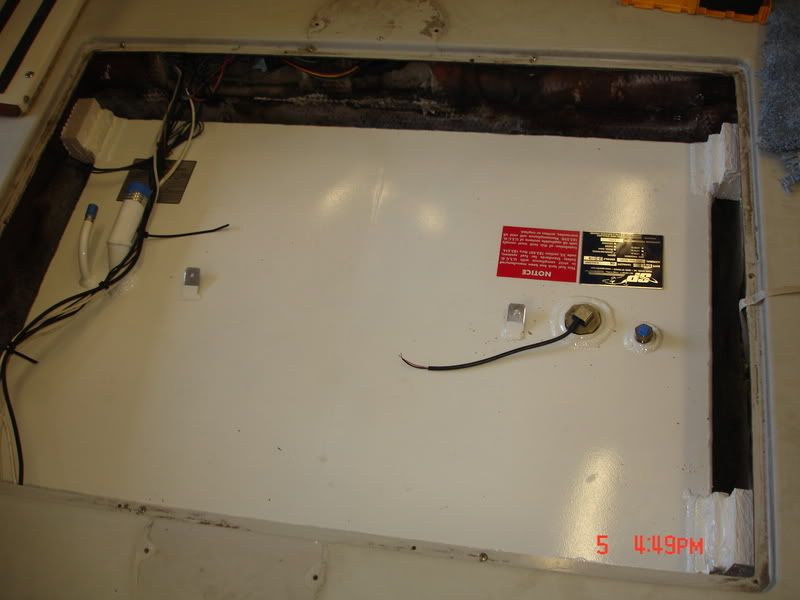
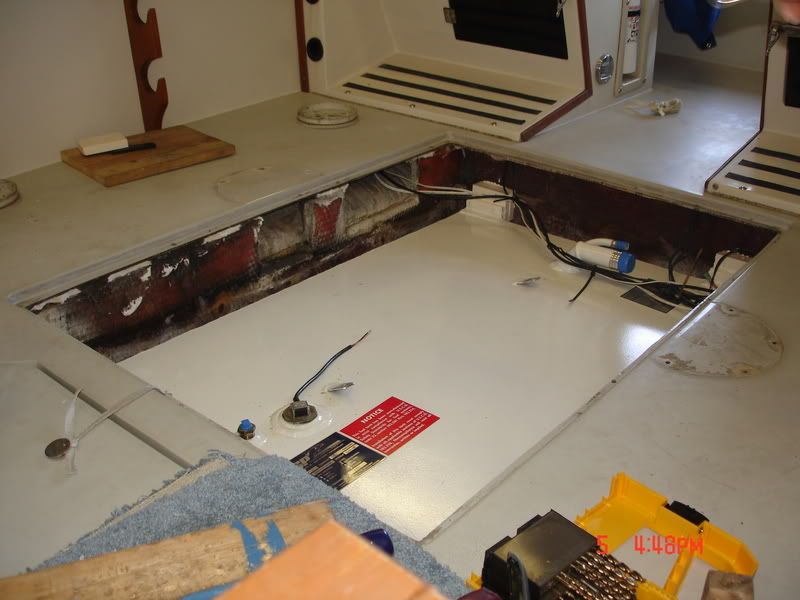
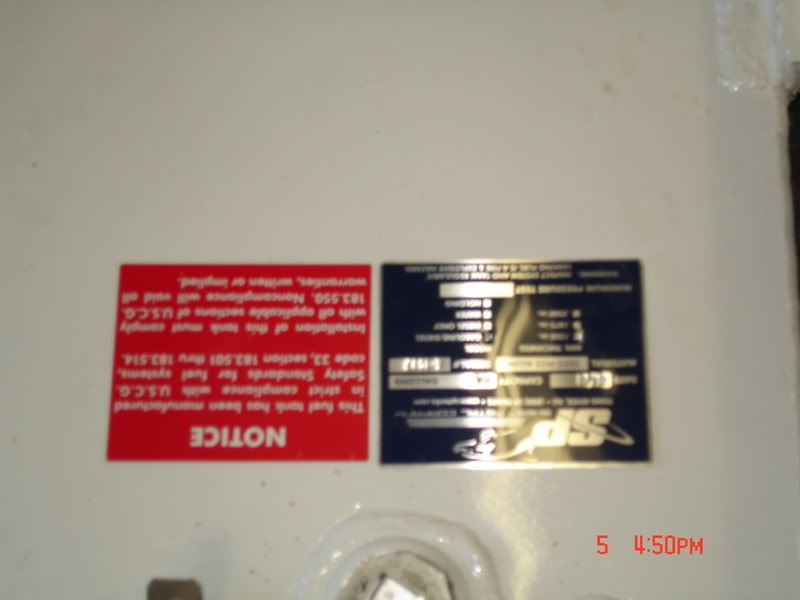
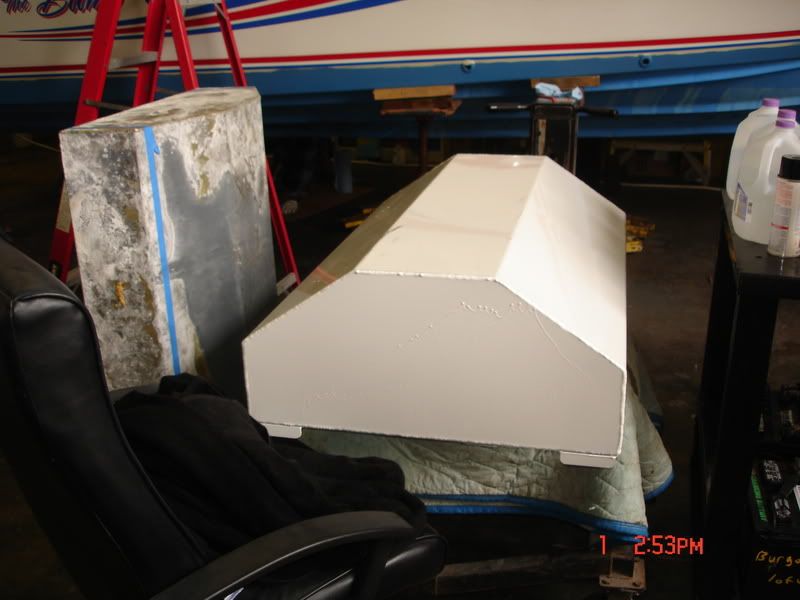
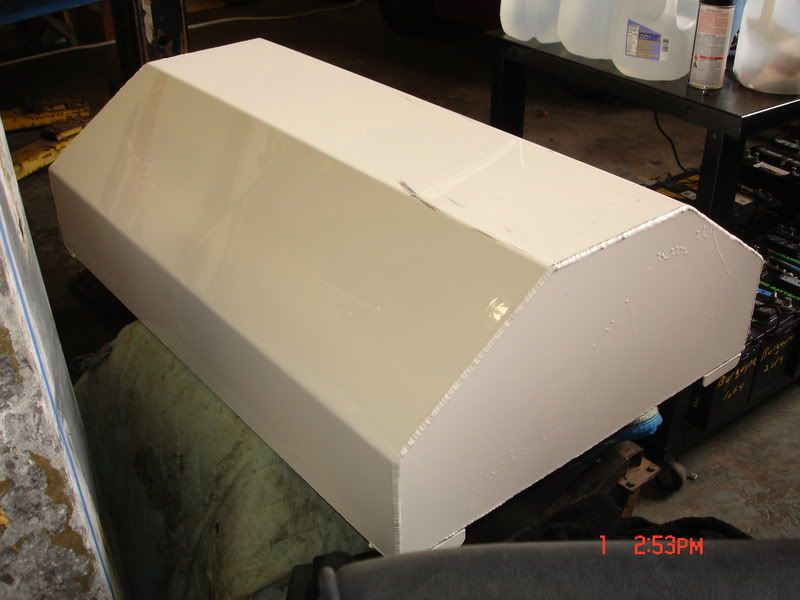
Looks good Pete I had one made 2 seasons ago by the place in Bayville its all aluminum and powder coated,
__________________
1987 Dual Console / 2007 200 hp E-Tec 
|
|
#48
|
||||
|
||||
|
joeturse.. the part number is032555.
lumber.. that is one nice gas tank. S&P sheetmetal makes the best around. They quoted me a price of around $800. My tank cost me $380 so I had to get it. This weather must be killing your project down there on LBI. |
|
#49
|
|||
|
|||
|
Moeller makes a nice tank,you can't beat them for the price.Thanks for the part number.
Man this weather is killin me. |
|
#50
|
||||
|
||||
|
nice tanks what sizes
and lumber hate to tell ya but that ain't powercoat it has runs, powercoat doesn't run like that. looks like epoxy coat
__________________
 1978 V20 Cuddy w/ 225 Johnson. And Several other boat's |
 |
| Thread Tools | |
| Display Modes | |
|
|