
|
|
#1
|
|||
|
|||
|
After reading on this Site how to rebuild a Fuel Hatch Cover I decided to give it a try even though I never worked with Epoxy and Fiberglass. I started off buying the Lowe's Poly Resin but had second thougts about the quality and returned it. The last thing I wanted to do was do this twice. I bought the West System from West Marine even though it is much more expensive. I was lucky enough to have a Sales Person who actually worked with Fiberglass and Epoxy Resin. He suggested I go with the Slow Hardener even though it was about twice the price of the Fast Hardener. I later found out it was worth the added expense and more.
I flipped the Hatch over onto two saw horses. I started with a Circular Saw to cut the underside fiberglass skin. I dropped the blade just enough to go through the bottom skin. I went around the perimiter of the raised area that covers the plywood. 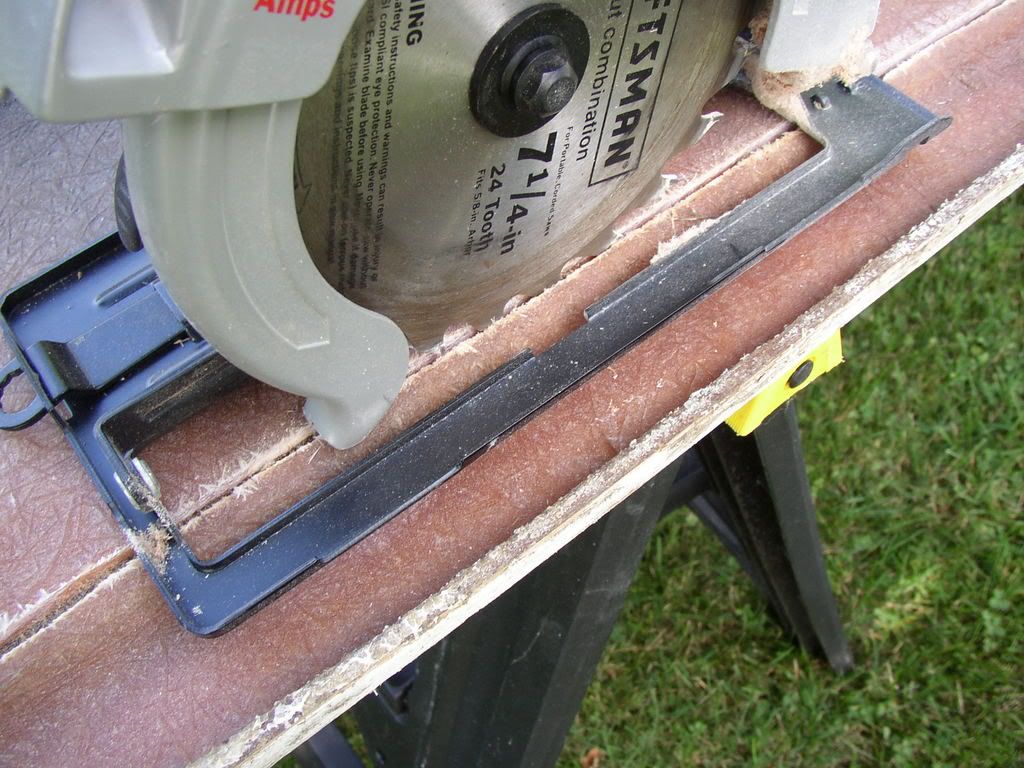 I was able to pull some of the fiberglass skin up by hand but I used a large chisel to speed the job up. 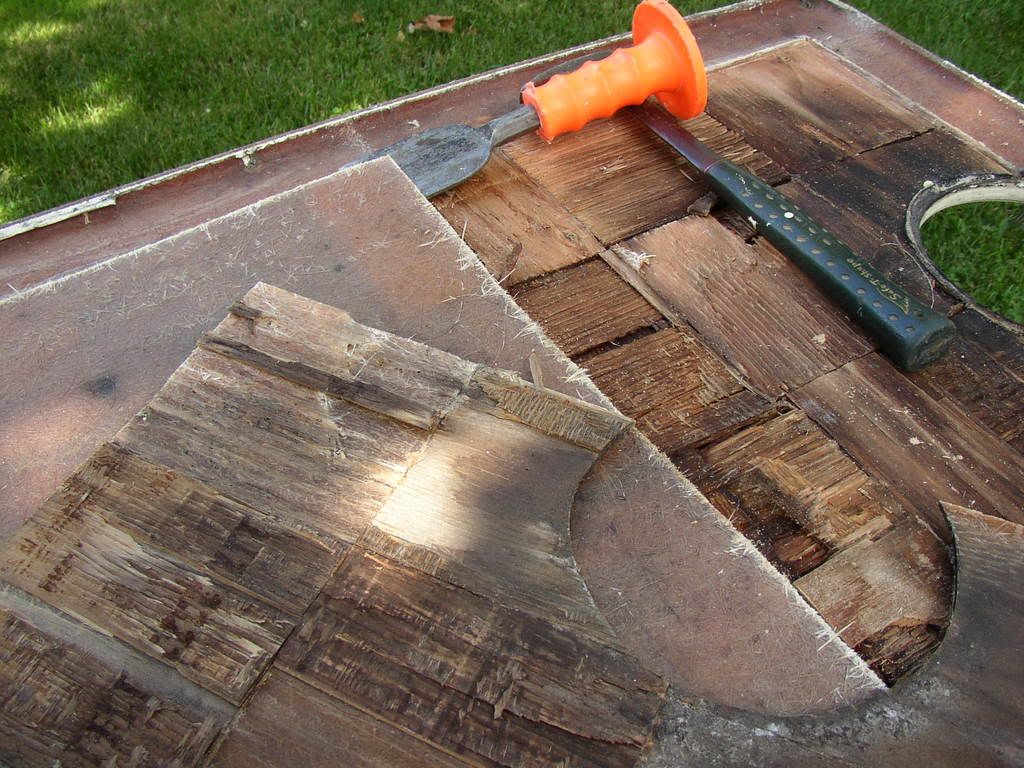 All of the skin is removed showing the little plywood squares that every who owns a V20 just loves. These were waterlogged and most came up easily with the chisel. 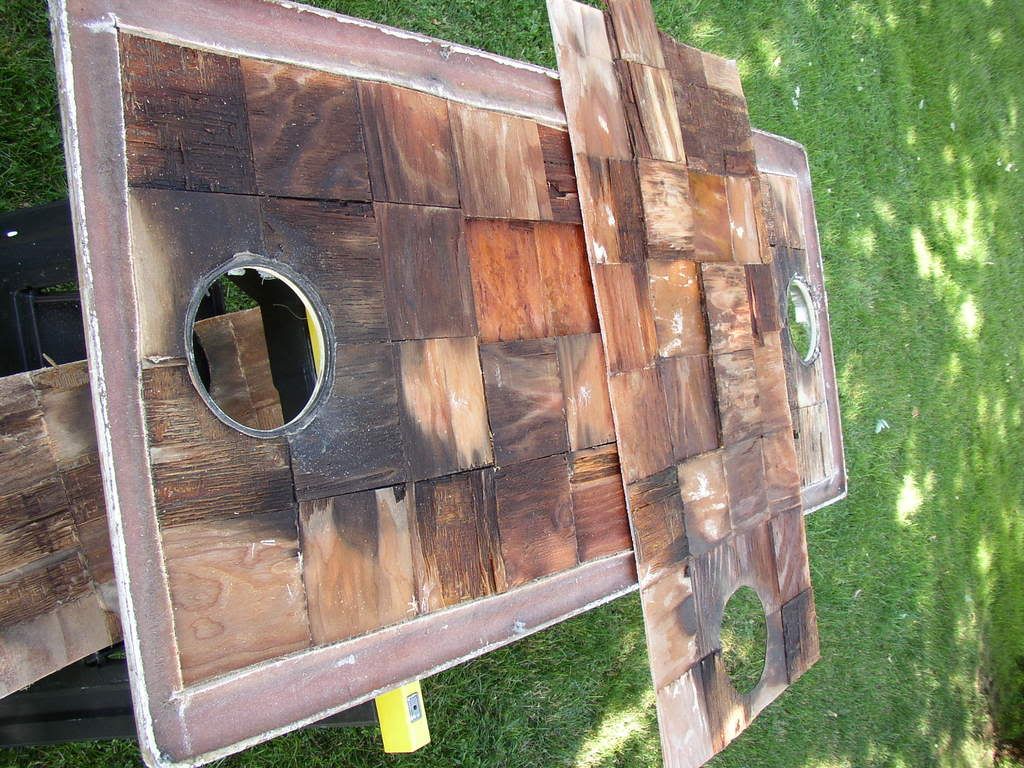 I used a grinder that I bought for $30 to knock down the fiberglass(see below) that was left around the perimeter of the plywood squares and the little bit of plywood that did not come up with the chisel or scraper 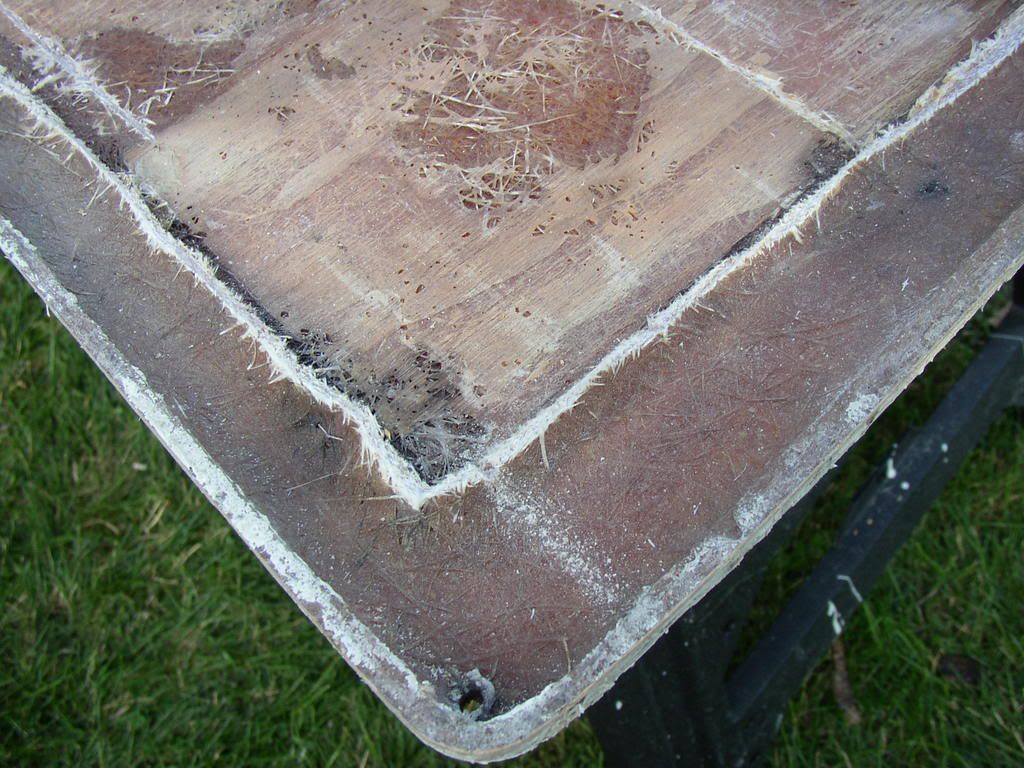 I cut a 3/4 piece of Exterior Grade Plywood to replace the damaged plywood that I removed. I then Epoxied the Plywood to the underside of the hatch. Because of someone else's misfortune on this Site I learned to use lots of Epoxy because the Plywood seems to absorb it. I also spent another $10 for a filler additive for the Epoxy. Since I was using the the Slow hardener I coated the underside of the Plywood first and let it soak in for 20 minutes and then added some more to the wood before coating the hatch and sticking them together. I also poured extra Epoxy on the Hatch in several places. I used lots of weight(5 gal buckets filled with water) on the plywood to keep the two pieces sandwiched tight while it cured overnight. Now that the plywood is cured to the underside of the hatch I am ready to lay the fiberglass over the back of the plywood. 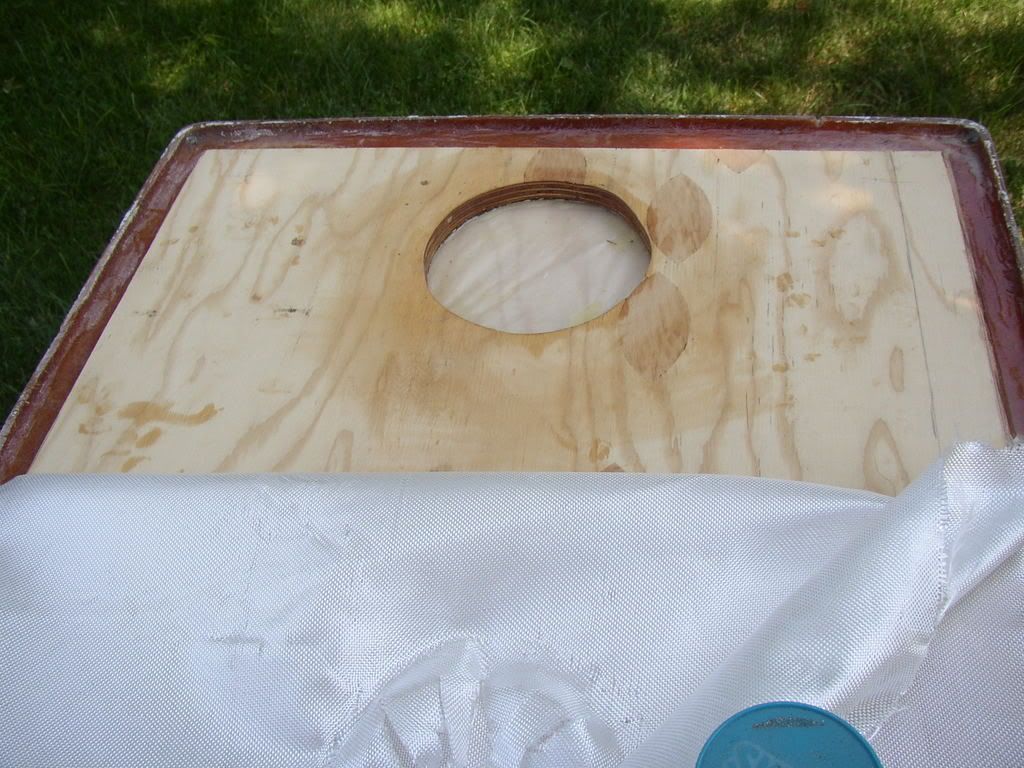 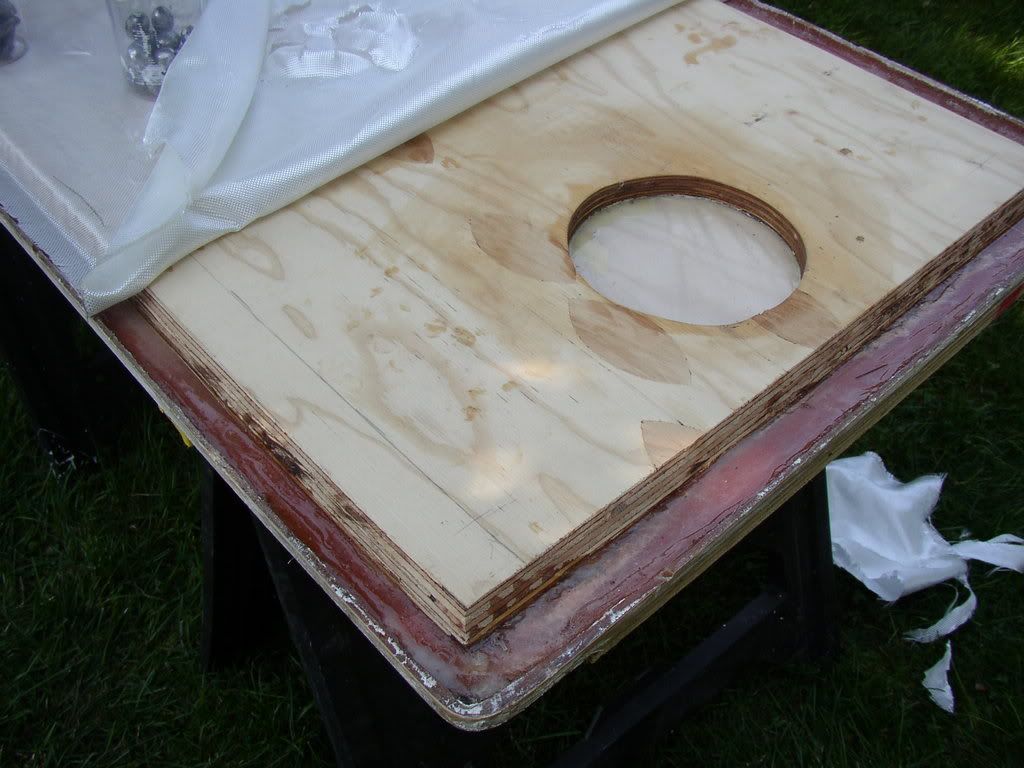 More to follow............
__________________
billfish16 V20 Cuddy 1982 2002 Mercury 200hp 
|
|
|


 Threaded Mode